waywardgarage.com
← back to tech roomProper Use of Expanding Foam in Automotive Applications
Proper Use of Expanding Foam in Automotive Applications
Despite the obvious drawbacks - it's messy, sticky and impossible to remove once it cures - there is nothing better than spray foam for sealing air and water leaks (and so much more!).
Cut Cured Foam With a Bread Knife
A serrated knife with a flexible blade is perfect for cutting off excess foam. Just make sure the foam is completely cured and firm all the way through or it'll stick to the blade.

Seal Foam With Foam
It's well worth the effort to add insulation and seal any cracks and gaps. A good DIY approach is to cut rigid foam insulation to fit between the gaps.
Cut it about 1/2 in. undersized so it's easy to fit in. Shim the rigid foam in place with little chunks of foam. Then fill the space around it with expanding foam.
Don't forget to caulk or foam the joint between the sill plate and the foundation too.

Leave Accidents Alone
When foam goes where you don't want it, you'll be tempted to wipe it up. DON'T! You'll only spread the goo and make the mess worse. Instead, let it harden completely and then scrape or sand it off.
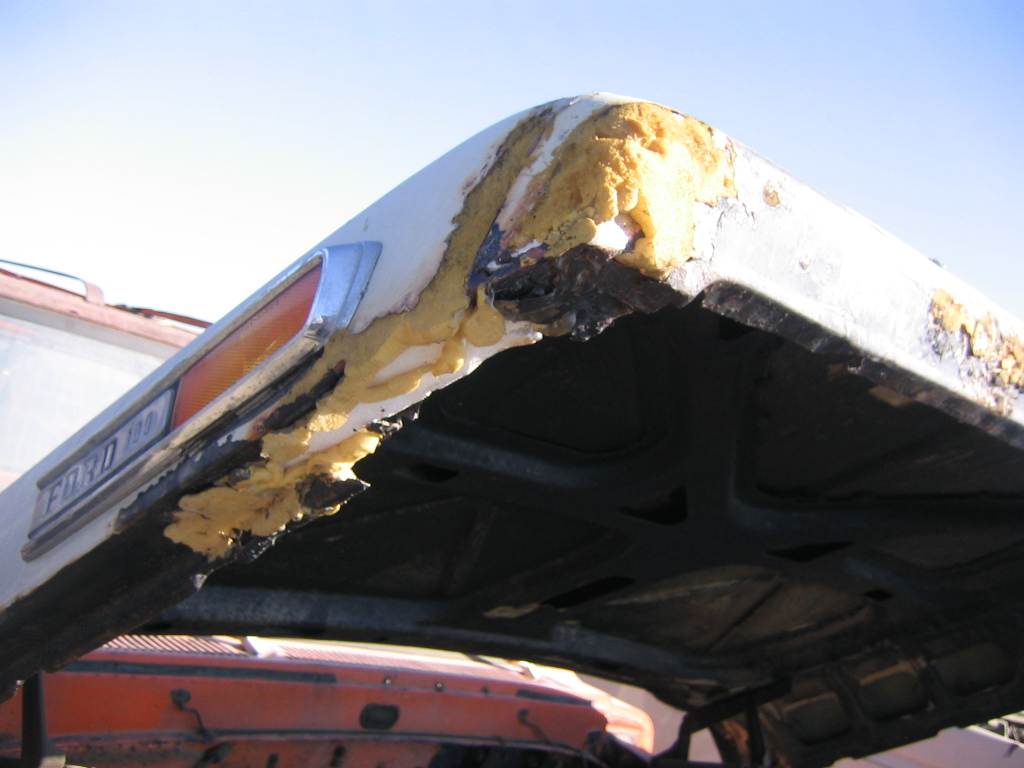
Big Holes Need a Double Dose
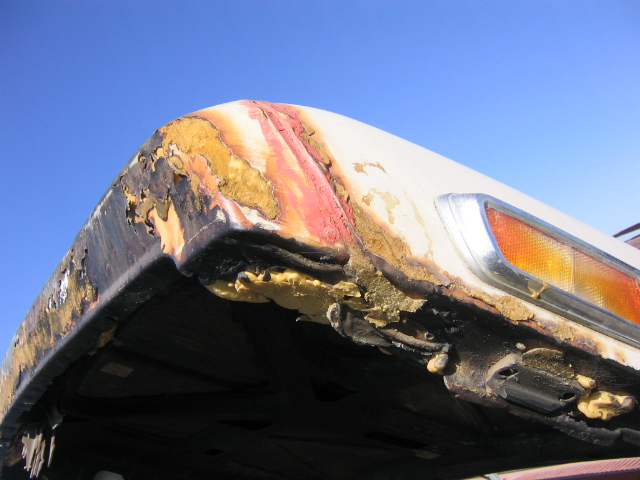
Some holes are so big that the foam starts to sag. For large holes like this, the trick is to fill the perimeter, let the foam cure and carve it off. Then add another layer to finish the job.
With some practice you will achieve a professional finish in no time!
8.11.07